
est. 2013


Images can take up a lot of space and can easily become a chaotic mess. That means you spend hours trying to sift through. From the images, you take personally, to the ones you have professionally done. Trying to keep your digital photos organized on your computer may seem like a daunting task. Fortunately, there are some quick and easy ways you can keep your images organized and make finding the ones you want a quick process.
We’ve already written a fantastic post on how to organize your photos and where to back them up at so make sure you check out that post. Also, remember to take it slow. Organizing your computer can be time consuming and overwhelming. Set a goal to sit down and do it in smaller increments! To view that post visit the link above.
We highly recommend using something like Google Photos or Adobe Bridge for culling through your images quickly.
5 Tips to Keep your photo library organized
1. Date and Time. Most often you can set the date and time on your camera. This information will automatically show when you upload new images onto your computer. But, if you are uploading digital files from your professional shoot, then you will want to make sure you add the date to the files before you begin the upload.
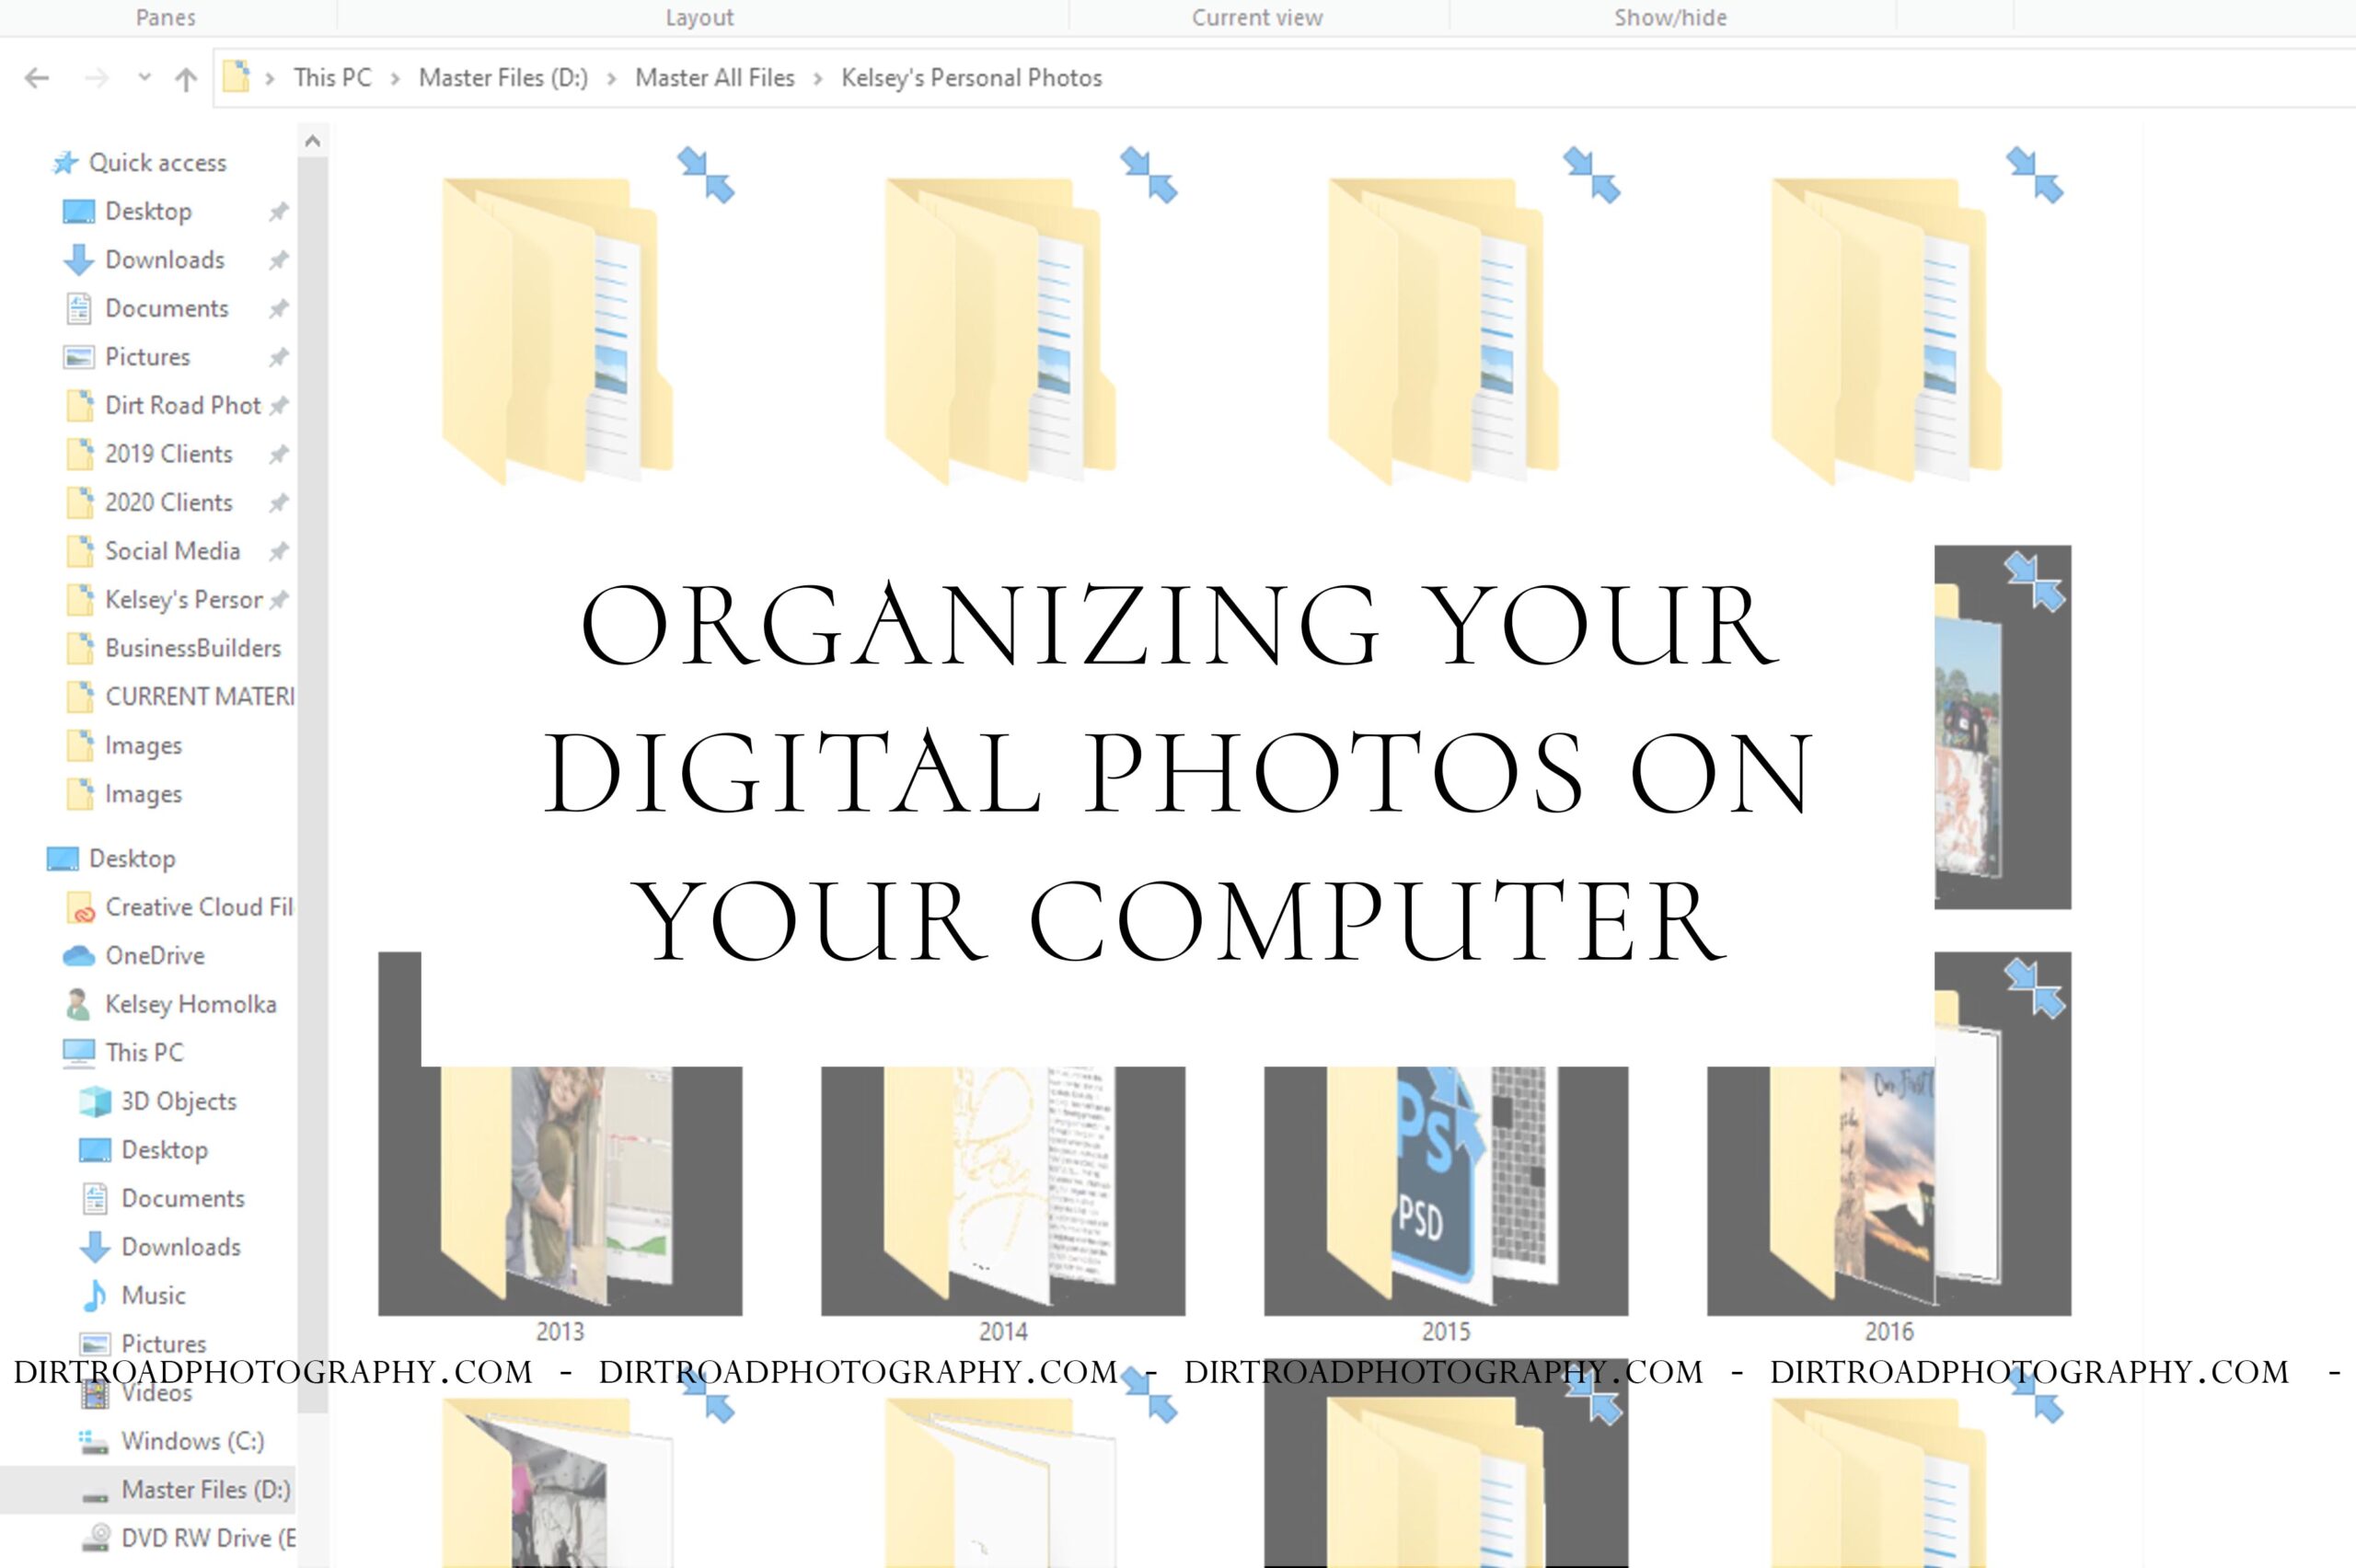
2. Name. Create folders for your images with the name, date or occasion you had them taken. It is always a good idea to add in the year that they were taken as well. You can create subfolders in the pictures folders on your computer for images you upload from your professional shoot. The system I personally use is: Year>Month>Event
3. Face Recognition. Most photo software allows you to tag people in your images using facial recognition. This can be an easy way for you to find specific images of your children and significant other. While I just use the folders within Windows 10, I love that I back up my phone pictures with Google Photos. This allows me to tag my family and friends!
4. Keywords. It can take a little extra time to tag your images with keywords. But this can make finding the images easier. Use keywords that you will be able to remember and be consistent with them. Keywords can be single words or phrases. Some ideas for keywording your images can include the event, date, location, season and people in the images.
5. Rate and Delete. You’d be surprised how many images are on your computer that you simply will never use or feel the need to look at again. Do you have images that are out of focus, have poor exposure, or random images of your hands, feet or the inside of your bag? Spend an afternoon going through and deleting the images that are pointless to keep. While you’re at it, you can rate the images as well. This will allow you to easily find the images you like the most. I love rating images because I then pull my top rated images into my end of the year “yearbook” that I have printed!


leave a comment!