
est. 2013


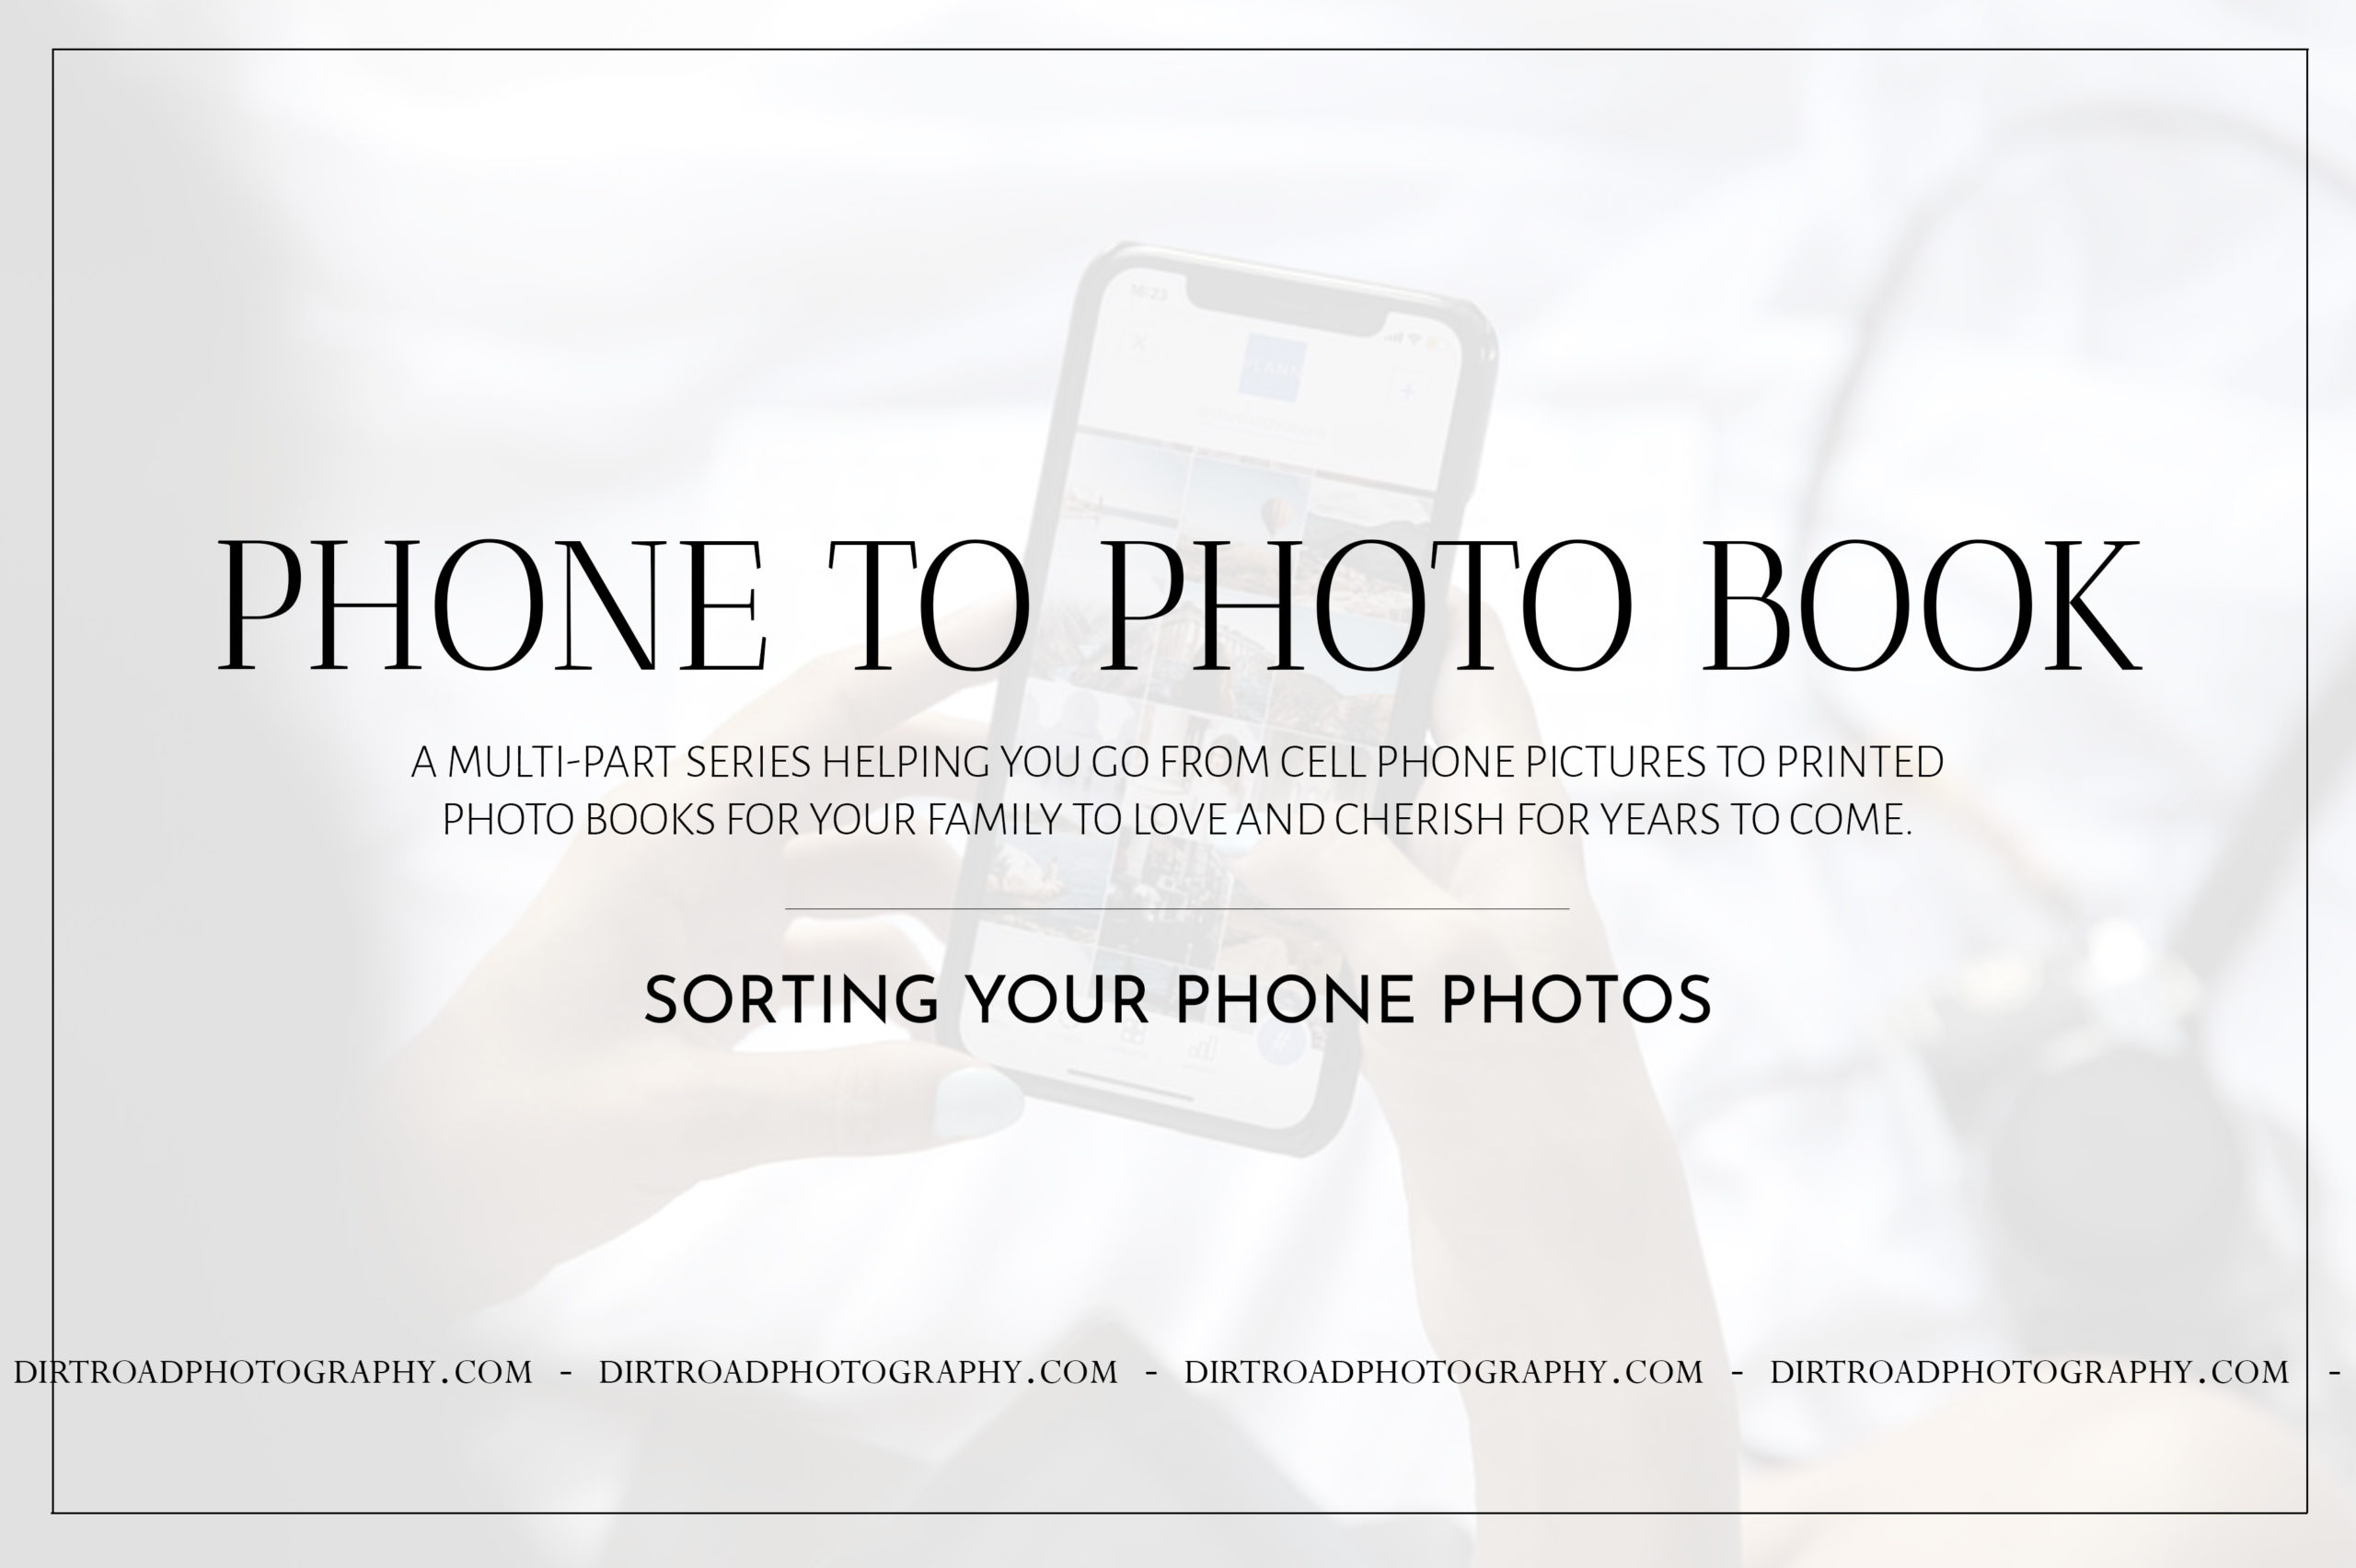
Part 2 | Culling Your Phone Photos
This post is all about the actual culling and sorting of your backed up phone photos. This is the most daunting part and where a lot of people quit the entire process. If you missed Part 1, we’re creating a series on creating tangible memories out of your phone camera roll. Check out that post here to get caught up. It breaks down the backing up of your phone photos process.
It took me years to get a good system down pat for creating books and organizing photos. I’m taking what I’ve learned along the way and setting you up for success because I’m a firm believer in printing and preserving our memories. Use my shortcuts to help you get those photos printed quick and easily. Take a peek inside my culling photos process and let’s get you on the right path to create those books from your phone photos.
Break It Down Into Smaller Sections
Don’t feel scared to break it down into tiny micro sections when you sit down to start culling process. I’d recommend setting a goal of doing XX amount daily or weekly. Maybe start out just getting through a month at a time. Or perhaps, a certain holiday’s worth of images. Try printing out a little checklist to keep you on track. I like to do it by month. So write down all of the months and cross them off as you complete a month at a time. If you do just one or two months each evening I promise you it’ll feel less overwhelming!
Choose A Sorting System
The first thing you need to do after you’ve backed up all of your images is to choose a sorting platform to use. For me, I create my books by hand so I sort my desktop computer files. I also sort and archive all the images within my Google Photos back-up system as well as I often to need to find photos on the go. I’ll break this post down into my two systems so you can see how they vary.
For my desktop computer I love Adobe Bridge! I’ve used it for years within my photography business and it’s free to download. There are other ample uses for Adobe Bridge but the main function you’ll be utilizing is the “ratings” system with stars.
I also use Google Photos as an auto back-up on my phone. This simple is pretty cut/dry so we’ll go deeper into it later on.
Start Sorting & Culling Your Photos
Now’s the fun part, start sorting your images! Take it slow, I promise you can do it!
In Adobe Bridge I use the ratings system to help me sort. I use the keyboard shortcuts of ctrl + 1 (or whatever star you’re giving it). My ratings are as follows;
– 1 star is trash. Once I’m done culling photos from that group, I go in and delete those files. These are typically ones that might be blurry images, random screenshots, duplicates of an image, etc.
– 3 stars is “keep” and are the ones I’ll go back through to see what I want to use for my photo books.
– 5 stars is “add”, once I’ve gone through the entire folder I then show just my 3 star images and re-sort then and rate my 5’s as needed. Sometimes your keep’s aren’t always added into books. Example might be a screenshot you don’t want to delete but isn’t necessarily going into your photo book.

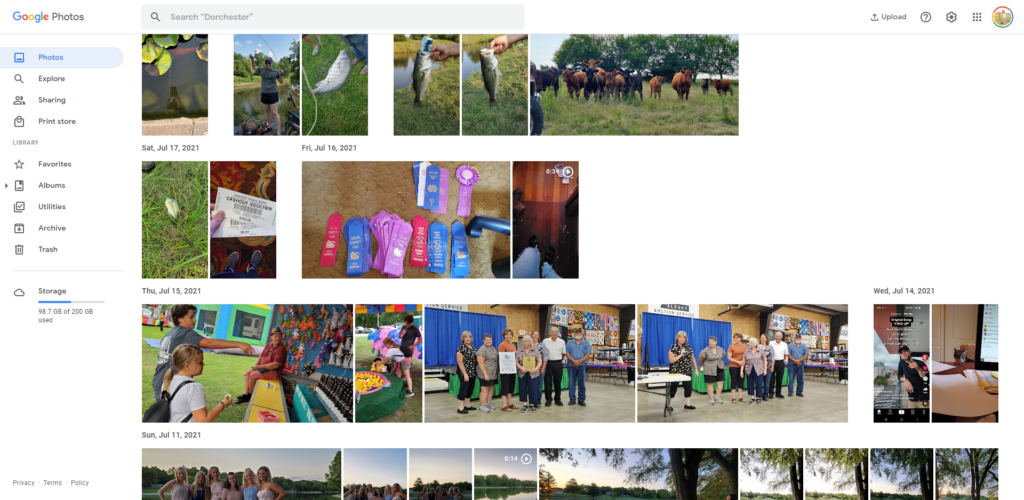
In Google Photos I do one month at a time and start by selecting a group of images and then I choose to “archive” them so they’re not showing in the main photo tab. Speaking from experience, make sure once you get 150-200 pictures selected, archive them! I would wait and build up bigger piles worth then if I clicked the wrong button I’d have to start over. From there, it’s simple to see a quick view of the “good” images so you can pull them into whatever software you’ll be using for creating your photo books! An added bonus is that a lot of programs will sync with your Google photos so it’s even less work on your end!
Create Albums & Add Tags
Take a minute to tag or add your images to albums if you have intentions to use them later! I do this by creating albums of important things like “kids” or “bts/prints” or even an “important docs” type of folder with those photos. It makes it incredibly easy to just go directly to the albums and find what you need. Another album I like to create is one for each year. This works fantastic for partner sharing accounts or group family type uploads. That way if grandparents or other family/friends have images they can drop into that album and I can then use them for my own albums without having to have them text me the photos then upload manually.
One of my number one favorite functions of Google Photos is the tagging feature. It is incredible! It will ask you a few time to help identify the similar faces and tag those people. I have mine synced with my contacts so it actually pulls up their specific name/tag. It’s amazing when I’m searching for specific things.
You Just Sorted All Your Photos!
Continue to do this until you get through all of your folders or year. Once you’ve finished up the current task, go back and do the same for prior years. It goes quicker the more you do it. Congrats, you easily sorted all those jumbled up photos and are ready for the next step in the process. I know the culling photos idea looks scary, but just remember to take it one folder/month/holiday at a time.
Come back or subscribe to our emails to stay up to date when we continue through our series of how to go from photos sitting on your phone to getting the printed into photo books! The next part will be all about photo books! From formatting and layouts of your images to choosing a company to print through, this next post will be jam packed!
If you liked this post, you’ll love some of our other posts.
WHY YOUR PHOTOS SHOULD BE PRINTED BY A PRO
GETTING STARTED ORGANIZING ALL YOUR PERSONAL FAMILY PHOTOS
UNIQUE WAYS TO DISPLAY YOUR PHOTOS IN YOUR HOME


leave a comment!